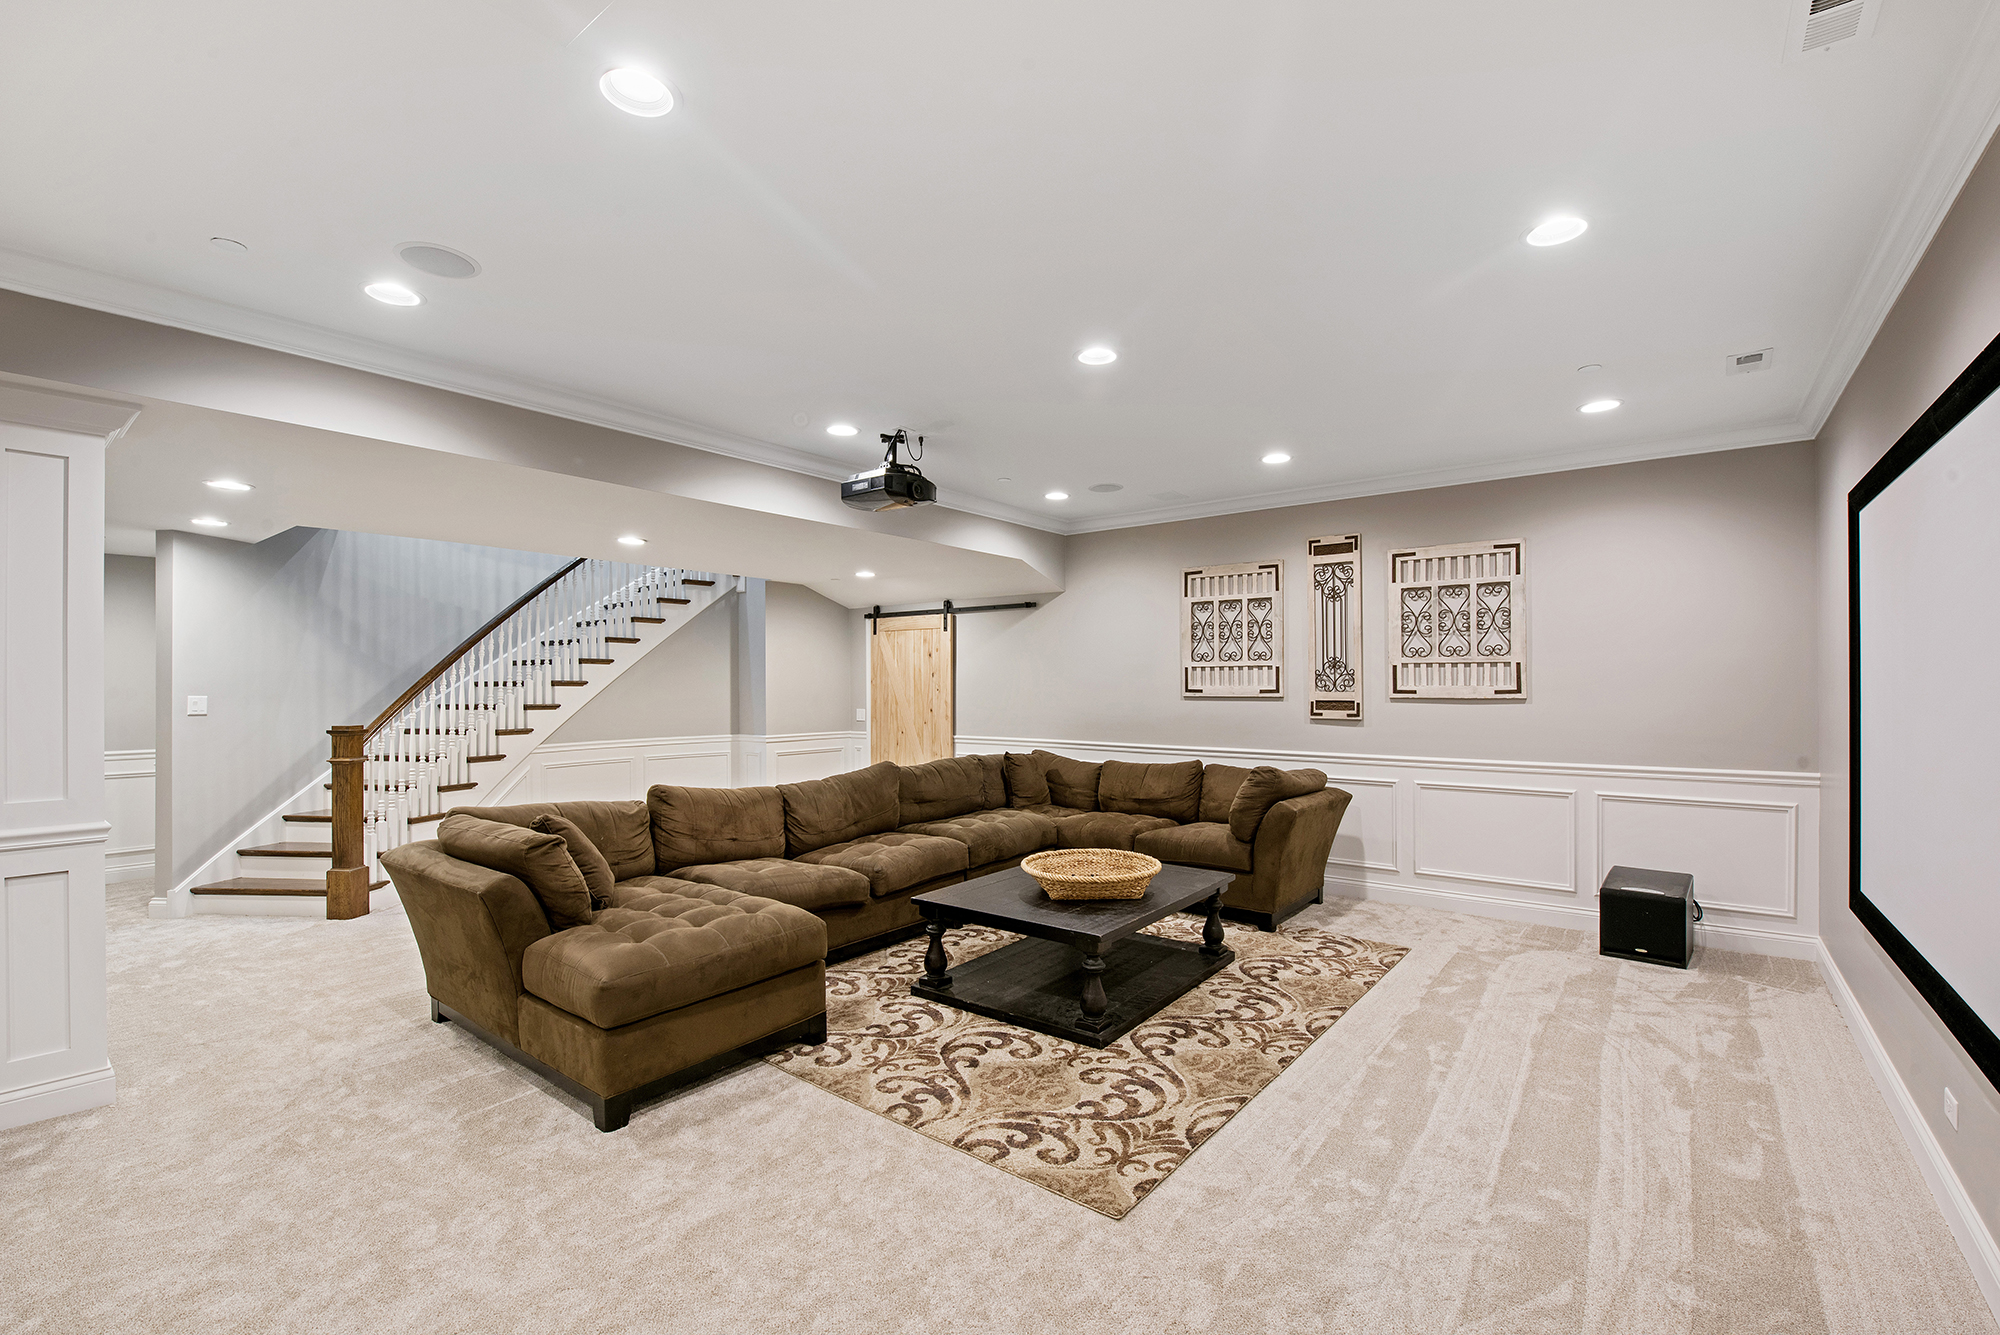
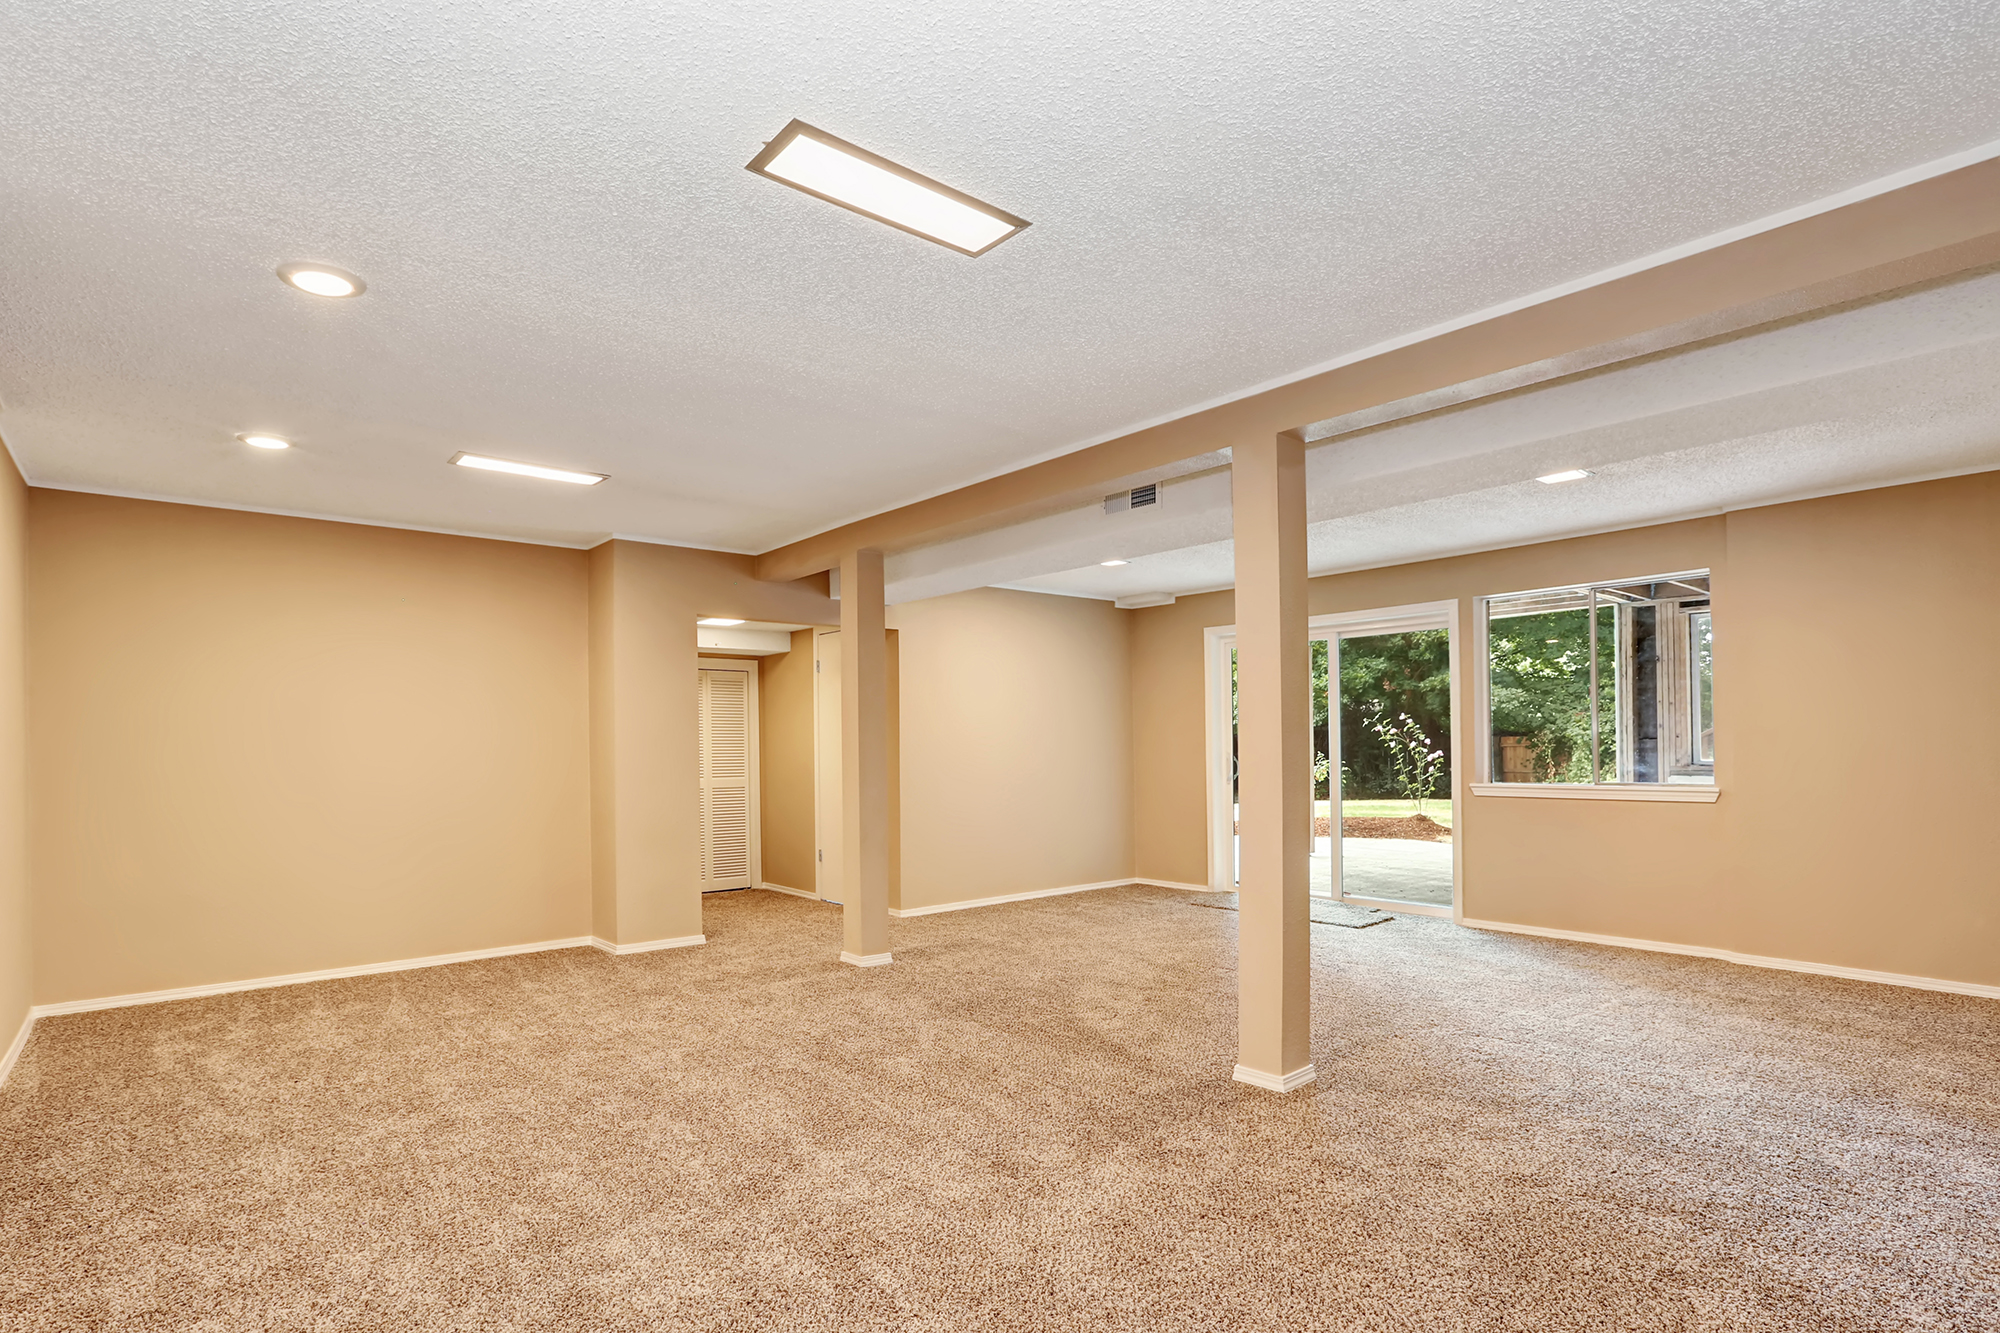
Painting a basement can dramatically improve its appearance and functionality, transforming a dull, uninviting space into a lively part of your home. This guide will walk you through the essential steps of prepping and painting your basement so you can transform the most often forgotten part of your home into a vibrant space.
1. Inspect Existing Damage
Before starting any work, thoroughly inspect your basement for signs of damage, particularly water-related issues. Examine the walls and floors for cracks, no matter how small. These can be indicators of structural problems or water infiltration. Look for areas of peeling paint, which often suggest moisture issues behind the surface.
Pay close attention to:
- Efflorescence: white, powdery deposits on concrete surfaces. This is a telltale sign of water seepage through the concrete.
- Mold or mildew growth: it thrives in the damp conditions often found in basements.
- Damp spots: along with water stains on walls and floors, damp spots point to ongoing water damage.
2. Repair the Damage (If Necessary)
If your inspection reveals damage, it must be repaired before proceeding with the painting process. Follow these steps:
- Remove debris from the damaged areas. Use a wire brush to scrub away loose mortar and flaking paint.
- Get rid of efflorescence. Prepare a muriatic acid and water solution, following the manufacturer’s instructions carefully. Apply this solution to the affected areas, scrubbing with a stiff-bristled brush. Always wear protective gear when working with muriatic acid.
- Rinse the wall. Rinse the wall thoroughly and allow it to dry completely.
If you find large cracks, use a technique known as keying. Hold a cold chisel at an angle and use a small sledgehammer to carefully undercut the edges of the crack, creating a broader base than the surface opening. Once you’ve keyed the crack, vacuum out any resulting dust and debris.
To fill the cracks, follow these steps:
- Mist the area lightly with water.
- Force hydraulic cement into the crack using a trowel, ensuring it’s packed in tightly.
- Consider inserting a foam backer rod before applying urethane caulk to provide a more flexible seal for particularly wide cracks.
2. Clean Surfaces
Your first step should be sweeping or vacuuming the entire area to remove loose dirt, dust, and cobwebs. Pay special attention to corners and the places where walls meet the floor, as these tend to accumulate debris.
Now, prepare a cleaning solution using warm water and mild detergent. Wash the walls with a sponge, working from the bottom up to prevent streaking. Pay extra attention to any greasy or stained areas, which may require more elbow grease. If they’re particularly stubborn, you might need a specialized cleaner.
After scrubbing, rinse the walls thoroughly with clean water to remove any soap residue. You can use a clean sponge or a spray bottle for this step. Ensure you’ve removed all cleaning solutions, as any residue can interfere with paint adhesion.
Allow the walls to dry completely before moving on to the next steps.
3. Apply Primer
Priming is crucial when painting basement walls, especially when dealing with bare concrete or previously painted surfaces in poor condition. Primer helps seal the surface, improve paint adhesion, and provide a uniform base for your topcoat all in one go.
Preferably, choose a high-quality primer designed for basements, which often have moisture-resistant properties.
Apply the primer evenly using a roller for large areas and a brush for edges and corners, paying particular attention to any repaired areas or spots where old paint peeled away.
Allow the primer to dry thoroughly before proceeding.
4. Choose the Right Paint
Given the tendency of most basements to build up moisture, opt for a moisture-resistant paint. We always use Benjamin Moore’s Aura Bath and Spa Paint, which works great for basement painting projects.
Consider choosing paint with mold-resistant properties, too, especially if your basement has a history of dampness or mold issues. This will prevent mold growth and keep your basement looking fresh for longer.
For these reasons, acrylic or latex-based paints are generally good choices for basements. These paints are durable, easy to clean, and resist moisture better than oil-based alternatives. As for the finish, a satin or semi-gloss is often ideal for basement walls.
These finishes are more moisture-resistant than flat finishes and are easier to clean, which is always a plus in a basement environment.
5. Use the Right Tools
Choose rollers with an appropriate nap length for your wall texture for rolling walls. Smooth walls typically require a shorter nap (3/8 inch or less), while more textured surfaces benefit from a longer nap (1/2 inch or more).
Purchase high-quality brushes for cutting around edges and detail work. Angled brushes can help achieve clean lines where walls meet the ceiling or floor.
Finally, remember to get paint trays and consider investing in extension poles. These can make reaching high areas much more accessible and reduce strain on your back and arms.
6. Ensure Good Ventilation During the Process
Proper ventilation is crucial when painting, especially in enclosed spaces like basements. If your basement has windows, open them to allow fresh air circulation. Regardless, set up fans to help move air through the space and position them to direct fumes outside if possible.
If your basement lacks windows or has poor natural ventilation, consider using a respirator rated for paint fumes. This is particularly important if you’re using oil-based products or working for extended periods. Still, consider getting low-VOC paint to minimize fumes in the first place.
Good ventilation makes the painting process safer and helps the paint dry more quickly and evenly, so take the proper measures before you start painting.
7. Take Safety Measures
Safety should be a top priority throughout your basement painting project, so keep these tips in mind:
- Always wear appropriate protective gear, including gloves to protect your hands from paint and cleaning chemicals, safety goggles, and a face mask to shield your face from splatters.
- When working on higher areas, use a sturdy ladder or scaffolding rather than stretching or standing on makeshift platforms.
- Ensure your work area is well-lit. Bring in additional lighting to help you see what you’re doing and avoid accidents.
- If you’re using harsh chemicals for cleaning or preparation, read and follow all safety instructions on the product labels.
8. Apply Multiple Coats
Plan on applying at least two coats of paint for the best coverage and durability. Start by brushing around edges, windows, and other obstacles, then use your roller to apply paint to the main wall areas, working in manageable sections.
It’s important to allow adequate drying time between coats—you’ll find specific instructions from the paint manufacturer on the container. This is typically a minimum of four hours, but it can be longer depending on the type of paint and the conditions in your basement.
After applying the second coat, carefully inspect the walls for any missed spots or areas where the coverage looks thin. Touch up these areas as needed to ensure a uniform finish.
9. Finish and Protect
After you’ve completed painting, allow ample time for the paint to cure fully. While paint may feel dry to the touch within hours, complete curing can take 7 to 30 days.
During this time, treat the painted surfaces gently. Avoid placing furniture or heavy objects against freshly painted walls for several days to prevent damage.
Consider applying a clear sealer over the paint for extra protection against moisture, especially in areas prone to dampness or occasional water exposure. This can help extend the life of your paint job and make the surfaces easier to clean in the future.
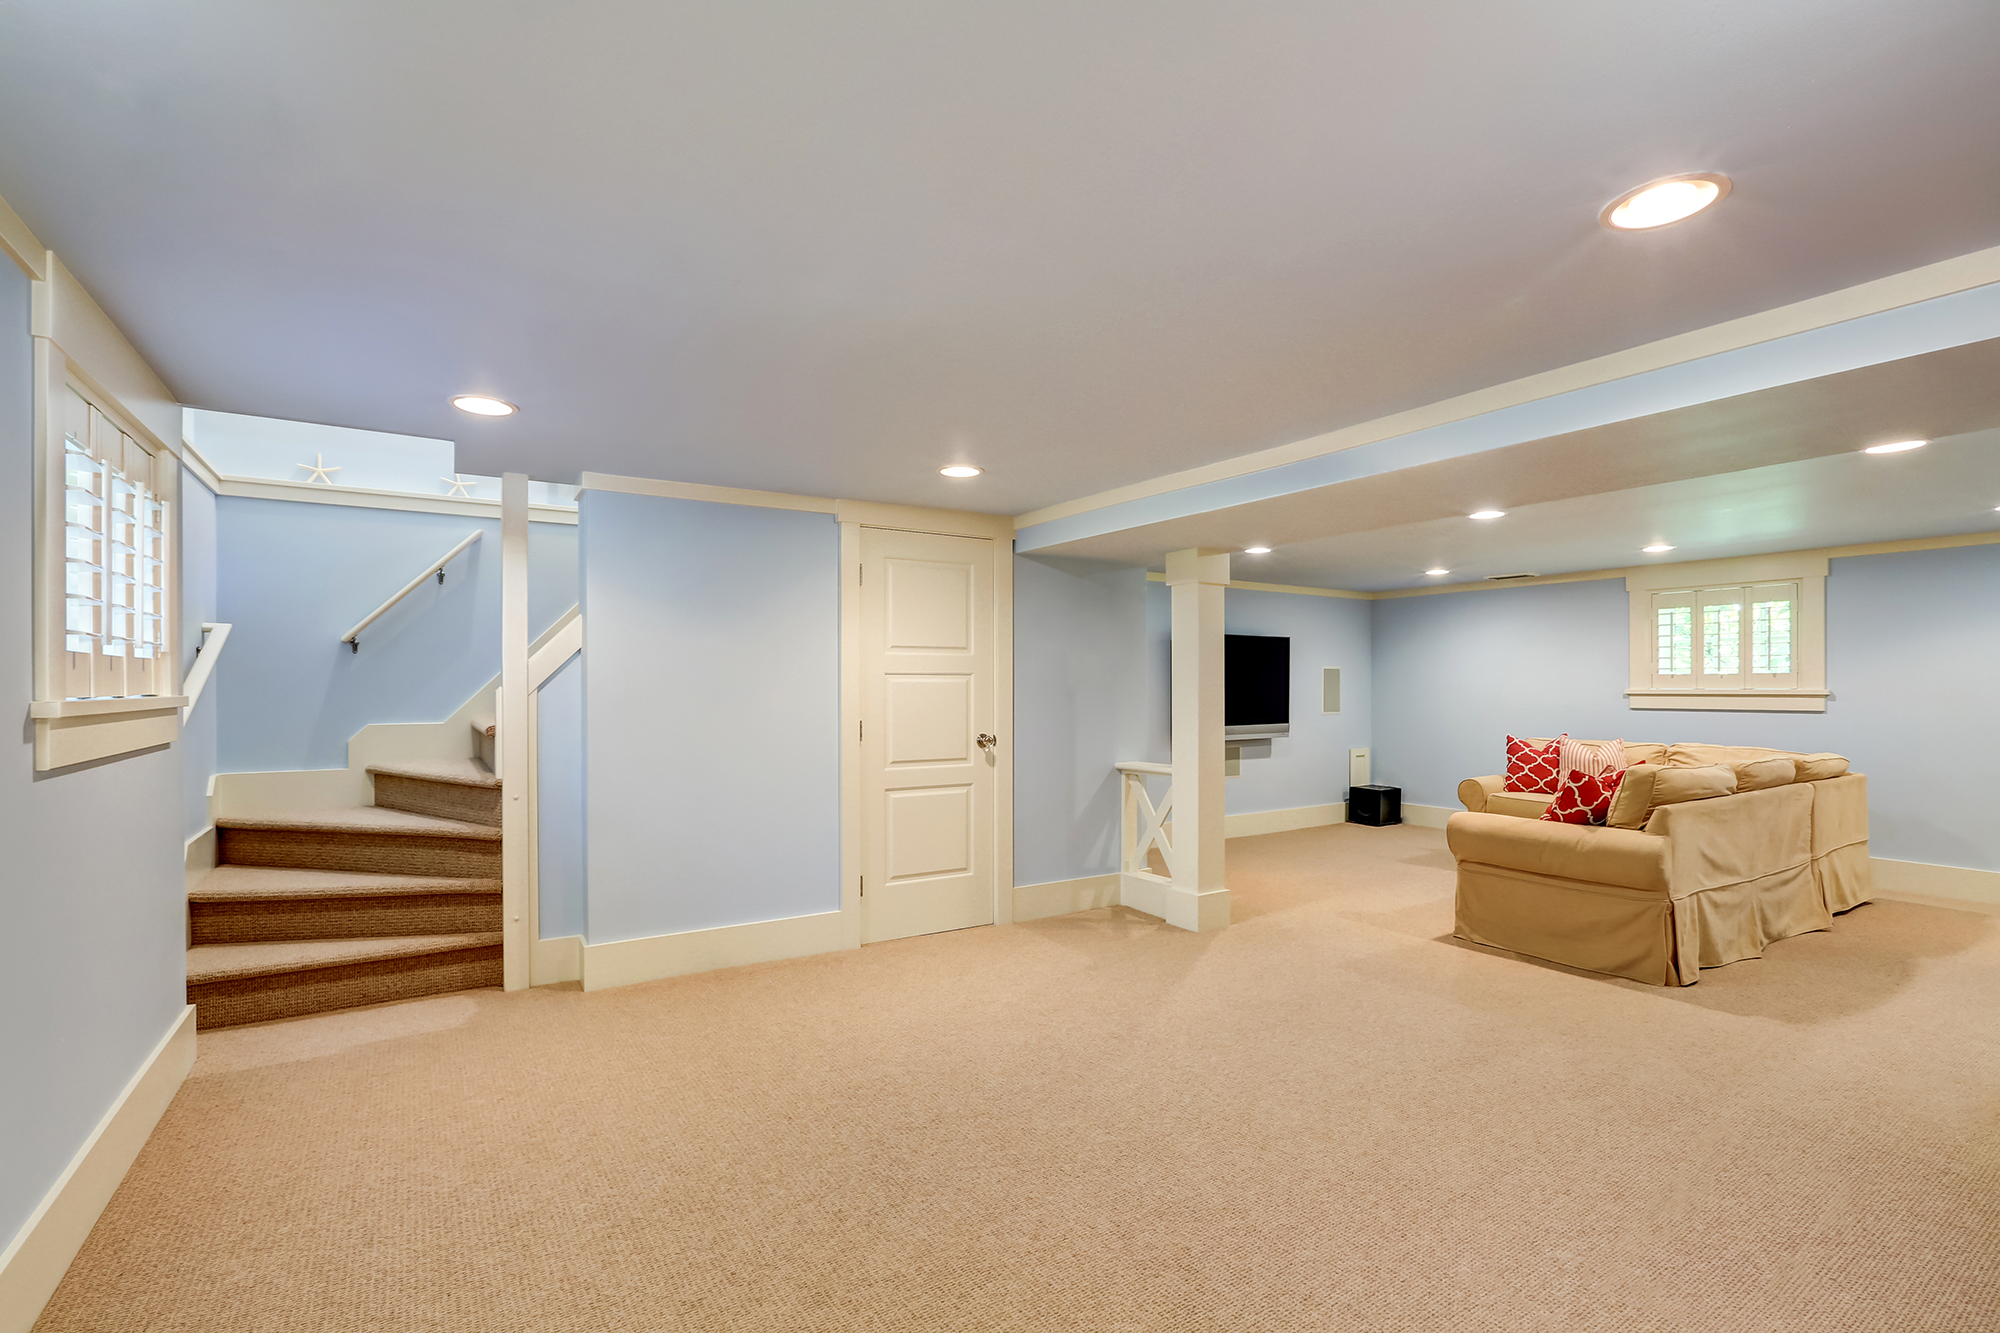
Bring New Life to Your Basement
Prepping and painting a basement requires careful planning and execution, but the results are worth it. With the right tools, you can turn your basement from a space you barely ever use into an attractive and usable part of your home.
However, some people don’t have the time, the training, or the tools to make a basement painting project a reality. That’s when Precision Painting Plus comes in. Contact us by calling 888.202.5134 or filling out our contact form for a consultation, where an expert will guide you on your best move forward based on your needs.