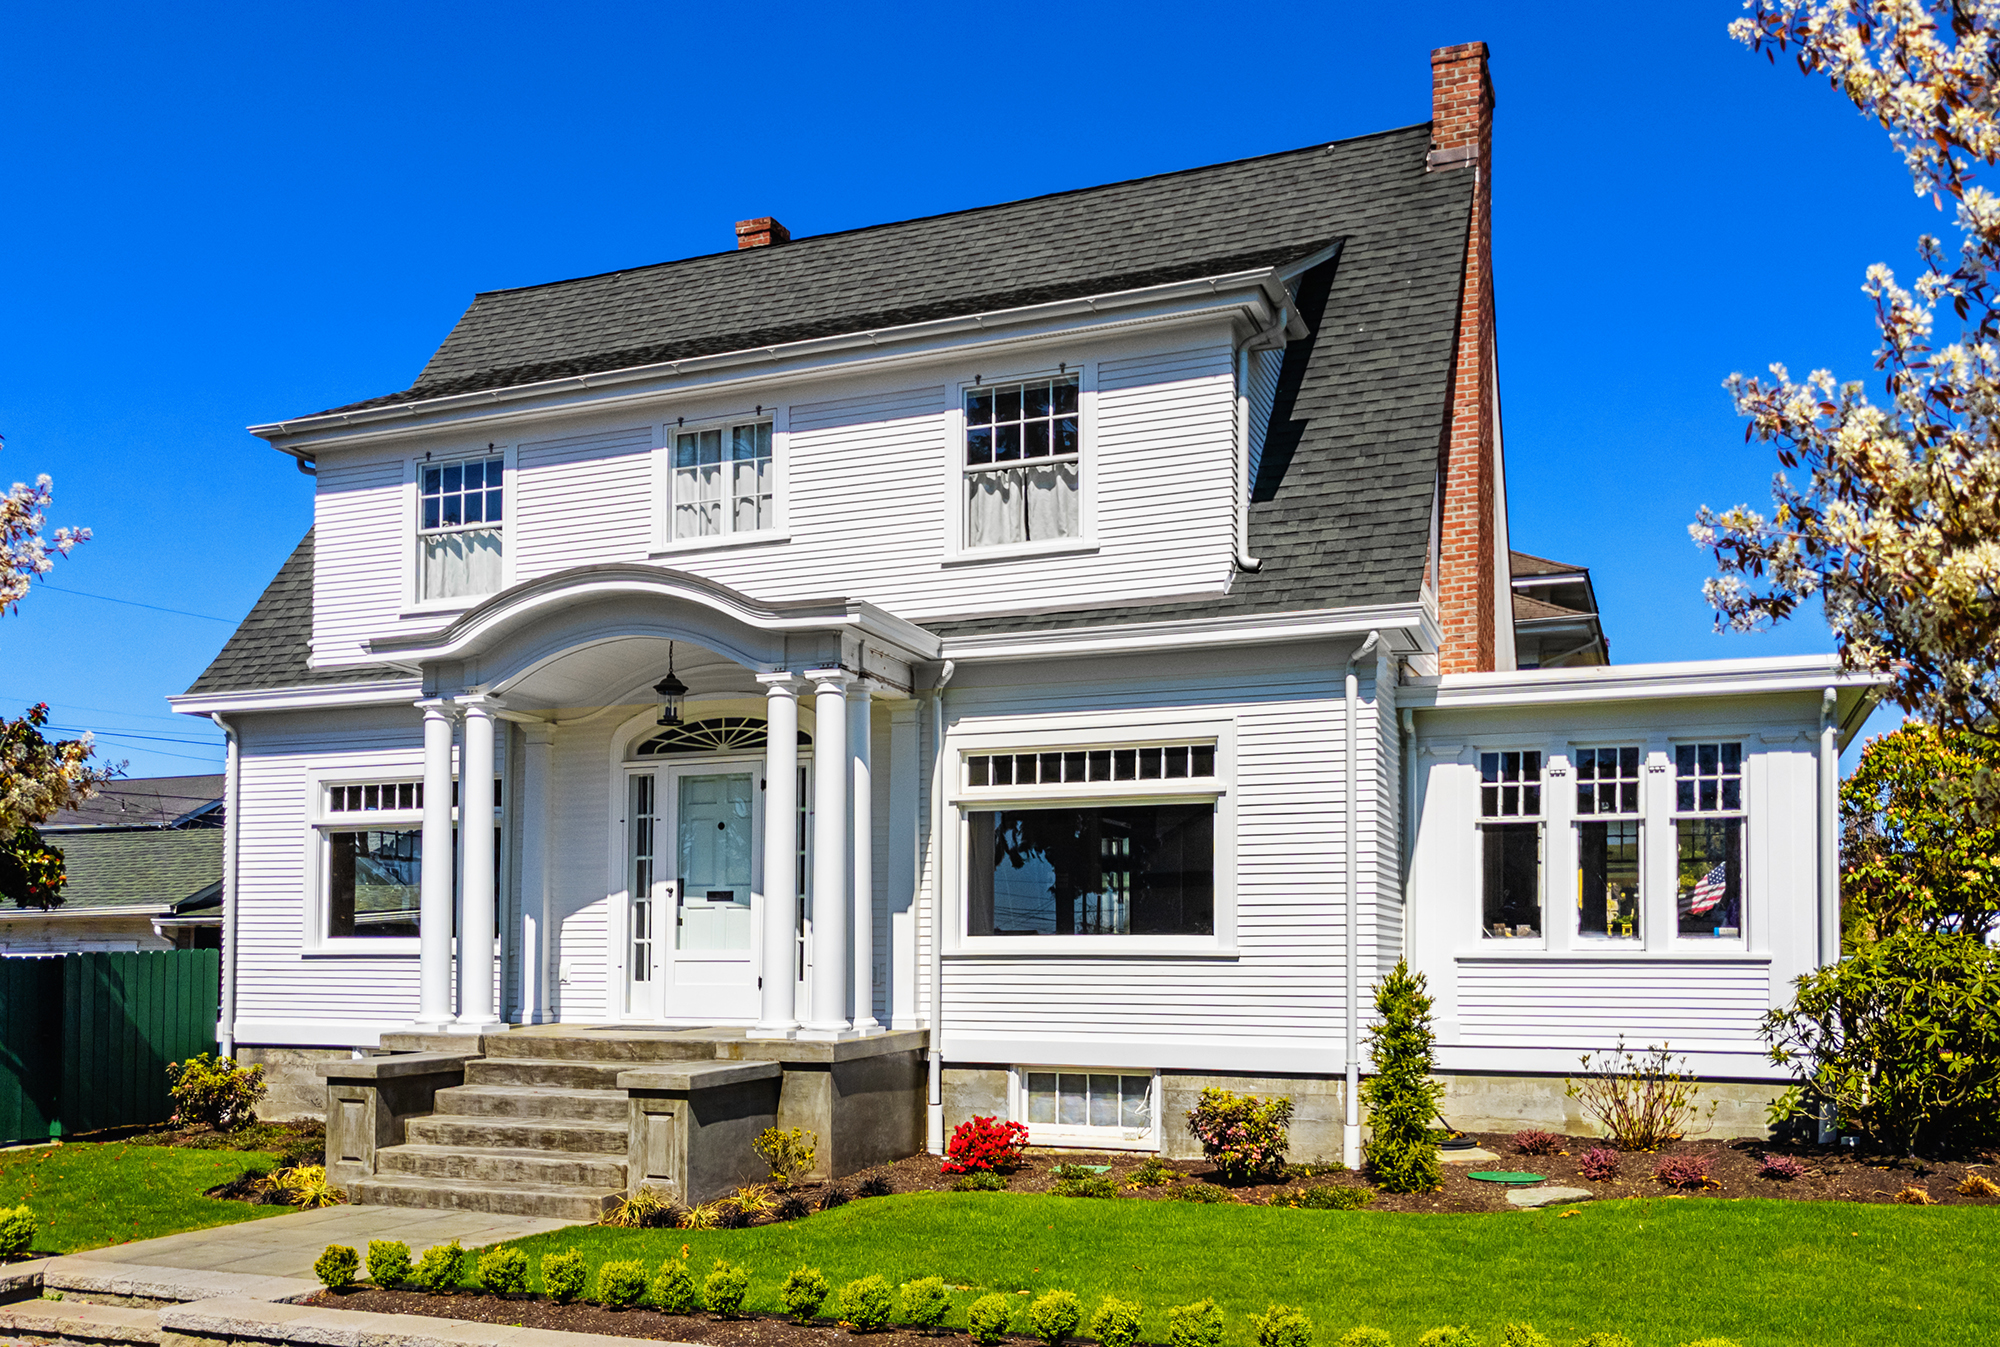
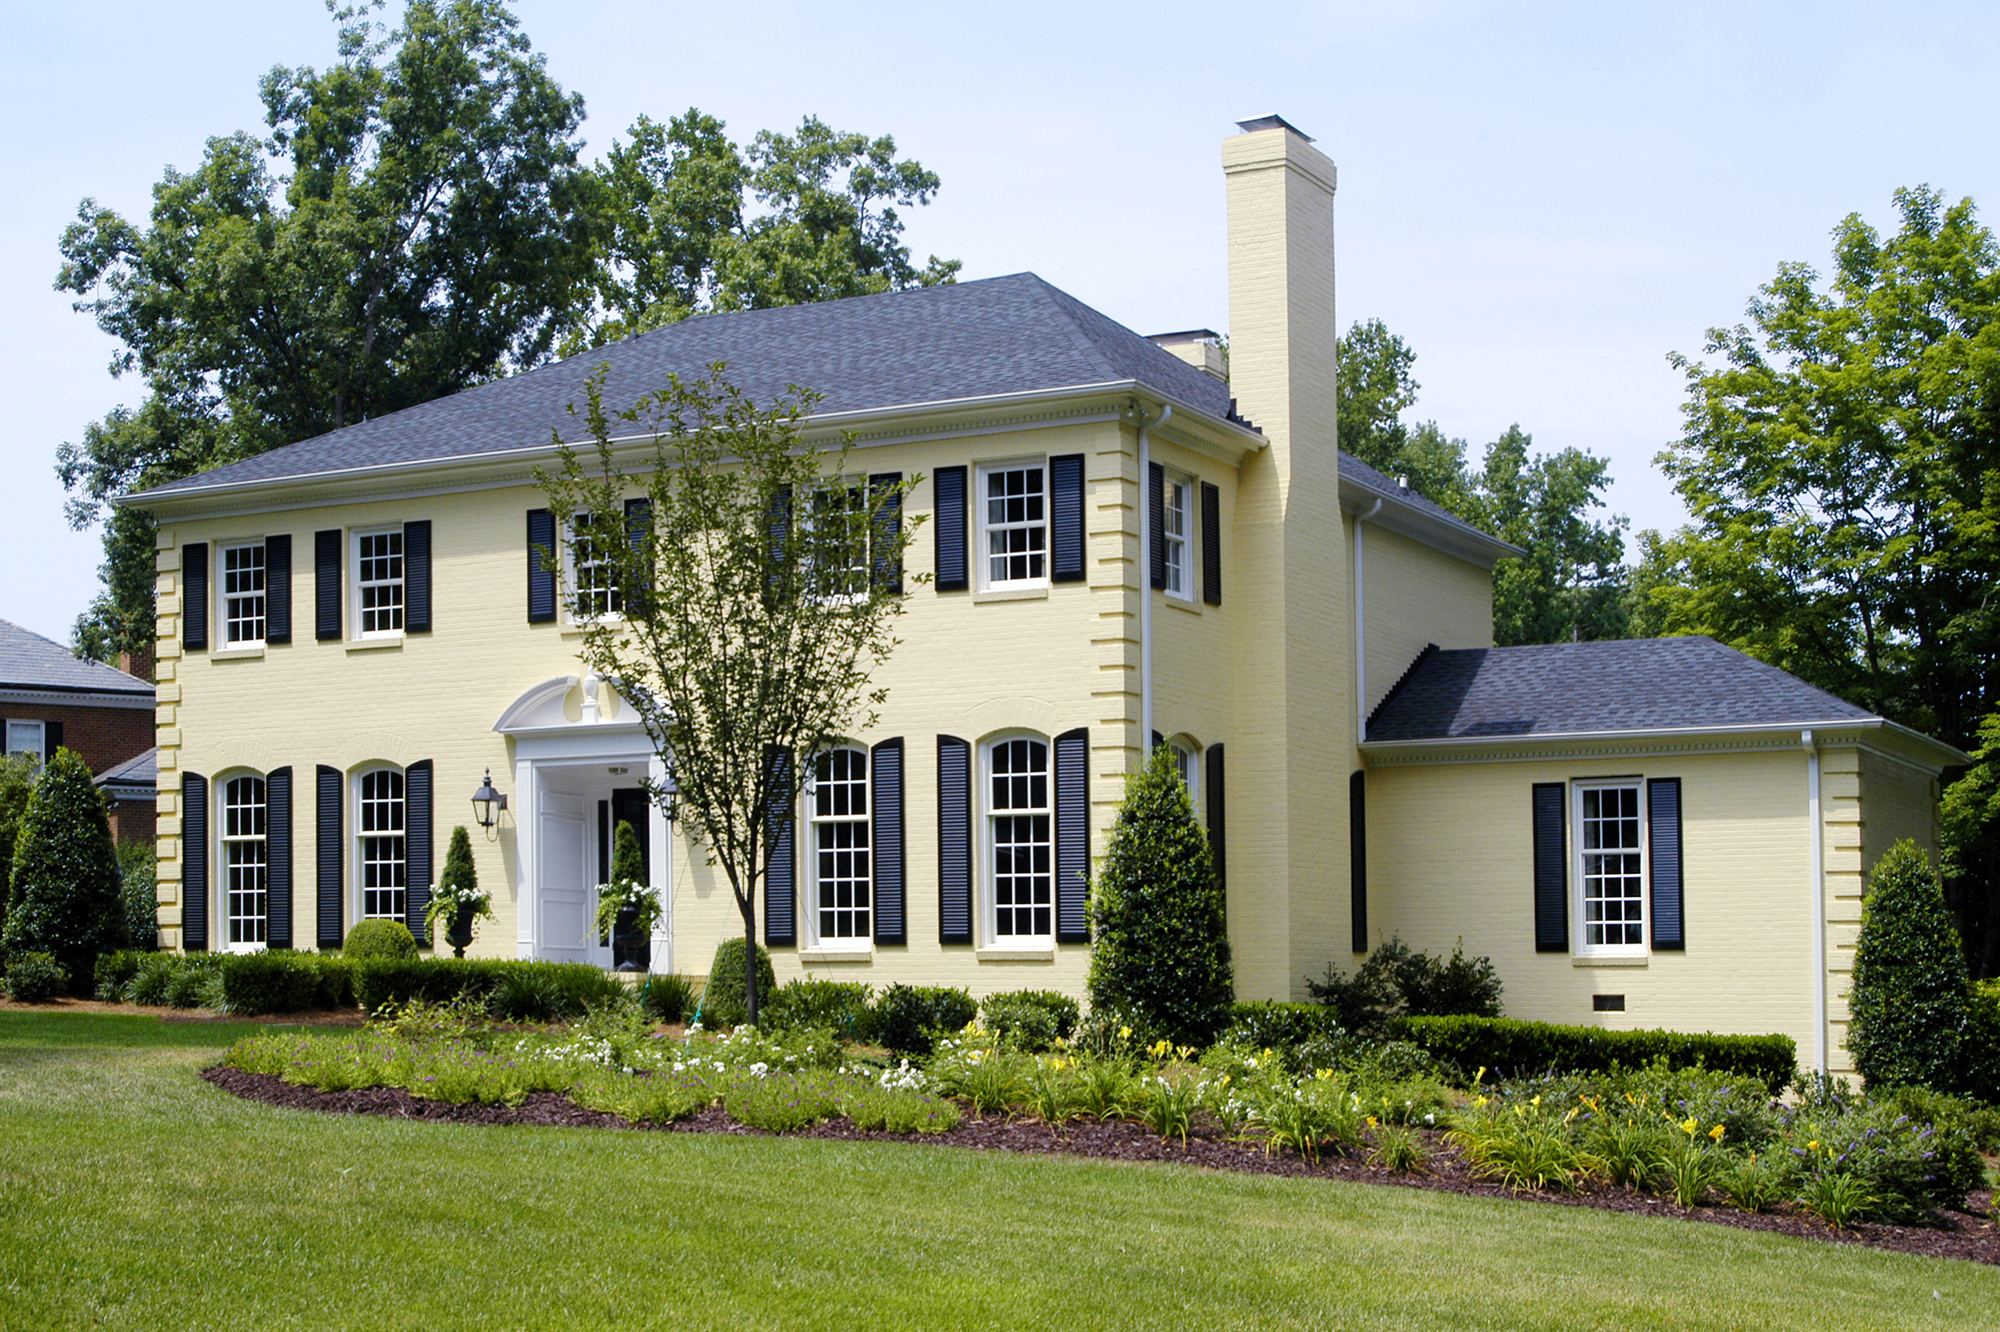
Painting an old house can be a rewarding project that breathes new life into a cherished home, but it also comes with its own set of challenges. Older homes often have unique characteristics, like plaster walls, exposed brick, and intricate woodwork, that require special care and attention.
Whether you’re dealing with loose paint, bare wood, or simply looking to refresh your home’s look, these tips will help you achieve a professional finish. So, let’s dive in and explore the best practices for tackling your next painting project with confidence.
1. Inspect and Prepare the Surfaces
Before you open a paint can, it’s crucial to thoroughly inspect and prepare the surfaces of your older home. Start by examining the plaster walls and painted surfaces for any signs of damage, such as cracks, peeling paint, or loose sections.
Use a scraper and sandpaper to remove loose paint, ensuring the surface is as smooth as possible. A pressure washer can be incredibly effective for tricky spots in removing dirt, mildew, and flaking paint.
Extra attention is needed when dealing with bare wood and exposed brick. Bare wood should be sanded down to a smooth finish, and any holes or cracks should be filled with wood filler. Exposed brick needs to be cleaned thoroughly to remove any dust or debris that could interfere with the paint’s adhesion.
Finally, don’t forget to protect your workspace with drop cloths, ensuring that surrounding areas remain clean and free from paint splatters.
2. Clean (Everything) Thoroughly
Once you’ve prepared the surfaces, the next critical step is to clean them thoroughly. Clean surfaces ensure that the paint adheres properly and lasts longer, preventing issues down the road.
Pay special attention to areas prone to rust or mold. To tackle moldy spots, use a mildew remover or a mixture of bleach and water. For rust, a rust converter or a wire brush can help remove and treat rusted areas, ensuring they don’t interfere with the new paint job.
After cleaning, allow the surfaces to dry completely before proceeding to the next step. Moisture can hinder paint adhesion and cause peeling and bubbling over time.
3. Repair Damaged Areas
Older homes often have unique issues that require attention, such as cracks in plaster walls, holes in wooden surfaces, or rust on metal elements.
- Repairing Wooden Surfaces: Inspect wooden surfaces for cracks, holes, or rotting wood. Use a high-quality wood filler to fill in any imperfections. Apply the filler with a putty knife, smoothing it out to ensure an even surface.
- Fixing Plaster Walls: Plaster walls in older homes may have cracks or holes that need addressing. To fill in these areas, use a patching compound specifically designed for plaster. Apply it with a putty knife, then sand it smooth once it’s dry.
- Dealing with Rust: Metal elements such as railings or window frames often suffer from rust over time. Remove as much rust as possible using a wire brush or sandpaper to prevent rust from spreading and affecting your paint job.
These repairs improve the appearance and extend the longevity of your paint job, making all your hard work worthwhile.
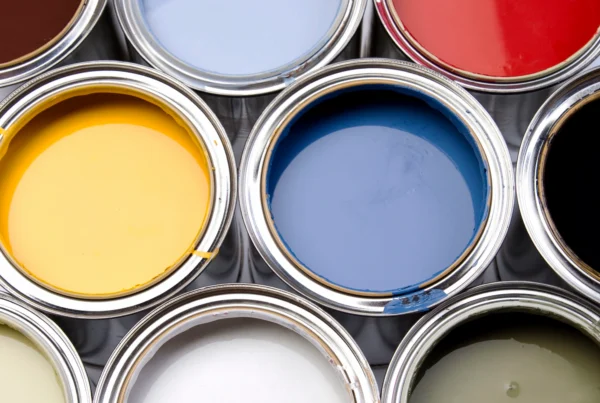
4. Choose the Right Paint
Different surfaces and conditions call for specific types of paint to ensure the best results.
Oil-Based vs. Latex Paint
Oil-based paints are known for their durability and excellent adhesion, making them a great choice for high-traffic areas and trim work. They also tend to be more resistant to wear and tear, which is beneficial for older homes with intricate woodwork.
Latex paints, on the other hand, are water-based and easier to work with. They dry faster, have lower volatile organic compounds (VOCs) levels, and are easier to clean up with just soap and water. They withstand the expansion and contraction of varying temperatures and humidity levels and are ideal for exterior surfaces and plaster walls.
High Gloss vs. Matte Finish
High-gloss paints are highly durable and easy to clean, making them perfect for doors, trim, and areas that see a lot of use.
For a more subtle, elegant look, consider matte or eggshell finishes. These finishes can hide minor surface imperfections better than high gloss and provide a softer appearance, ideal for large wall areas in living rooms or bedrooms.
Special Considerations
When choosing paint for older homes, consider special requirements, such as dealing with lead paint or preserving historic features. For homes with lead paint, following safety guidelines and consulting a professional to handle removal or encapsulation is crucial.
Additionally, certain historical homes may have restrictions or recommendations for preserving the original character, so research and adhere to any local regulations.
5. Prime the Surfaces
Priming is a critical step that prepares your surfaces for the final coat of paint, ensuring better adhesion and a more durable finish. Skipping this step can lead to peeling, cracking, and other paint failures, especially in older homes with various surface issues.
Choosing the suitable primer depends on the surface you’re working with:
- Oil-Based Primers: These are ideal for covering old oil-based paint, wood, and surfaces prone to stains and odors.
- Water-Based Primers: Water-based primers are easier to clean and quicker to dry than oil-based primers, making them a good choice for walls and ceilings.
- Bonding Primers: Designed to adhere to difficult surfaces like glass, tile, and galvanized metal. A bonding primer might be necessary if you’re dealing with a tricky surface.
- Stain-Blocking Primers: Essential for covering stubborn stains, like water damage or nicotine, ensuring they don’t bleed through the new paint.
6. Use the Right Painting Techniques
Older homes often have unique surfaces and details that require special attention:
- Plaster Walls: When painting plaster walls, brush or roller with a medium to long nap to ensure the paint gets into all the nooks and crannies. Be gentle to avoid damaging the plaster.
- Exposed Brick: For exposed brick, a sprayer can provide the best coverage, but if using a brush, choose one with stiff bristles to work the paint into the brick’s texture.
- Woodwork: Detailed woodwork should be painted carefully, using smaller brushes to get into intricate areas and ensure even coverage.
By using the right tools and techniques, you can achieve a high-quality, professional-looking paint job that enhances the beauty and character of your older home.
Special Painting Considerations for Older Homes
Painting older homes can present unique challenges that newer homes might not have. These considerations are essential to ensure your painting project’s safety, longevity, and aesthetic appeal.
Addressing Lead Paint and Asbestos
Many older homes were painted with lead-based paint, which can be hazardous if improperly handled. Similarly, asbestos might be present in older building materials. Here’s how to manage these safely:
- Lead Paint: If your home was built before 1978, it may have lead paint. Hire a professional to test for lead. If lead paint is present, it’s crucial to follow safety protocols or hire a certified lead paint removal specialist to ensure safe removal or encapsulation.
- Asbestos: Asbestos can be found in older insulation, flooring, and other materials. If you suspect asbestos, do not disturb the material. If necessary, hire a professional for testing and removal.
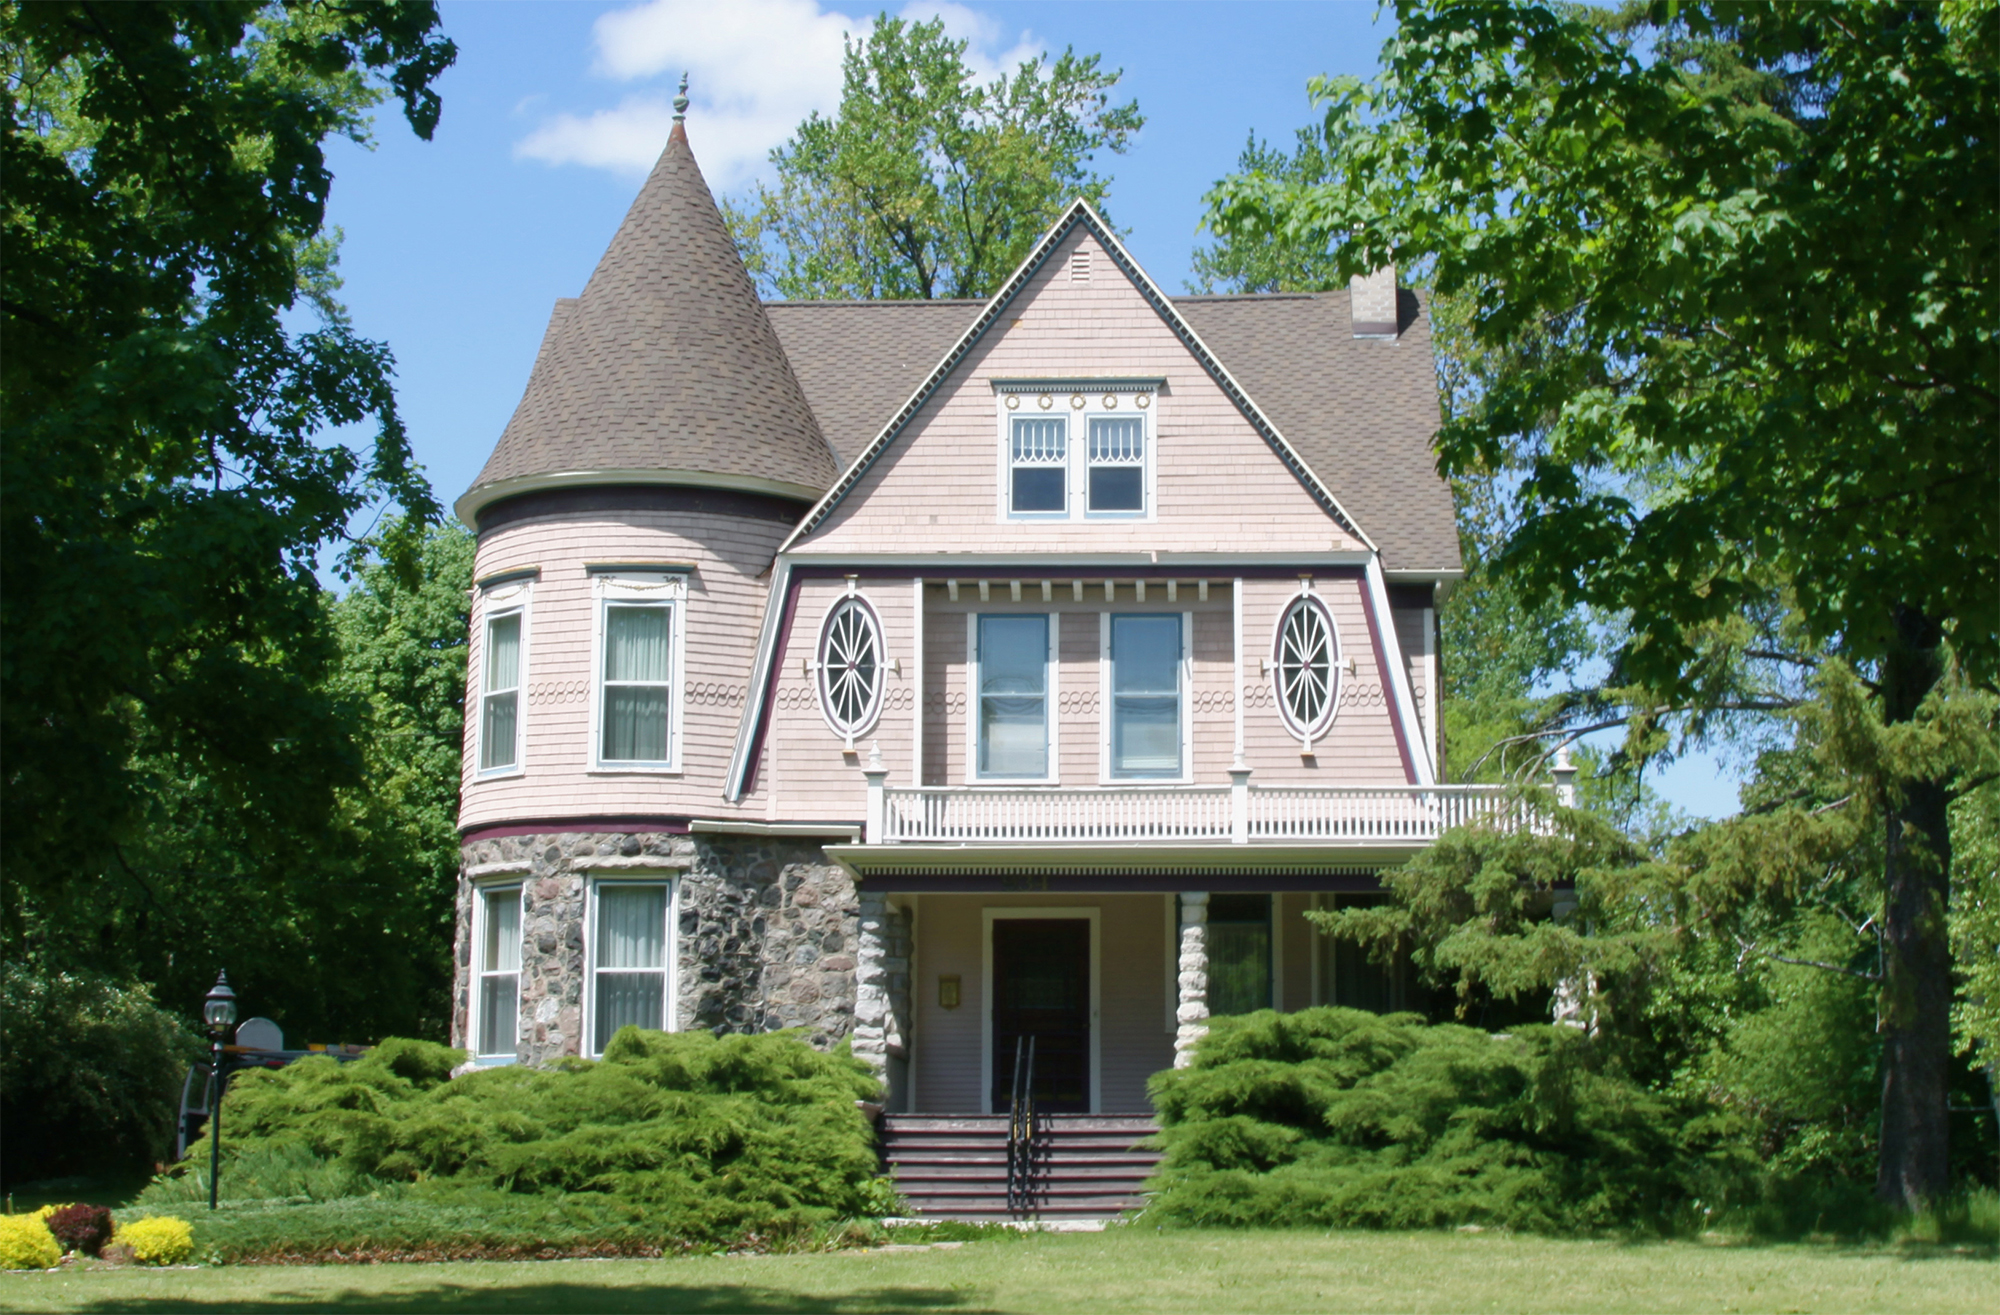
Preserving Historic Features
When painting a historic home, preserving its architectural integrity is important. Here are some tips:
- Research and Respect: Research the historical period of your home and respect its original color schemes and finishes. This can often add value and maintain the historical charm.
- Gentle Techniques: Use gentle cleaning and painting techniques to avoid damaging delicate woodwork, plaster, and other historical features. Avoid abrasive tools and harsh chemicals.
Dealing with Unique Architectural Elements
Older homes often have unique architectural elements that require special attention:
- Intricate Woodwork: Detailed woodwork should be cleaned and sanded with care. Use small, fine brushes to paint intricate details.
- Unusual Surfaces: Surfaces like beadboard, wainscoting, and decorative trim can be challenging to paint. Use a brush or small roller designed for intricate surfaces to ensure even coverage.
- Multiple Materials: Older homes may have a mix of materials (wood, brick, plaster, metal) requiring different types of preparation and paint. Make sure to choose the right primer and paint for each material.
To Recap
By following these expert tips—from thorough preparation and choosing the right paint to employing proper techniques and ongoing maintenance—you can achieve a professional, long-lasting finish that enhances your home’s beauty and value.
Whether you’re tackling the project yourself or seeking professional assistance, taking the time to do it right will pay off in the form of stunning results that stand the test of time.
At Precision Painting Plus, we understand the intricacies of painting older homes. If you need expert help or advice, please reach out. Our team of skilled professionals is ready to assist you in transforming your home with a beautiful, durable paint job. Contact us today to get started on your next painting project and experience the Precision Painting Plus difference.