DOES WALLPAPER ALWAYS NEED TO BE TAKEN DOWN, OR CAN IT BE PAINTED OVER?
Generally speaking: yes, it needs to come down.
The only time painting over wallpaper is recommended is if you’re working with improperly installed wallpaper on extremely old plaster or drywall that might be damaged by wallpaper removal. These cases are rare (and probably indicate you’ve got bigger issues to deal with than changing your color scheme!).
In those rare cases when wallpaper should be painted over, the job needs to be done carefully by someone with experience. They’ll need to sand and spackle any cracks and seams to minimize surface discrepancies as much as possible. They’ll also need to know what kind of paint to use—a water-based paint will affect the wallpaper’s adhesive, causing lifting and bubbling that will ruin the entire project.
Wallpapering over wallpaper also isn’t recommended. Wallpaper adhesive is designed to stick to painted, or at least primed, walls. Even if you can somehow get your second layer of wallpaper to stick evenly and without issues, removing it will be twice the work—wallpaper can only be removed one layer at a time.
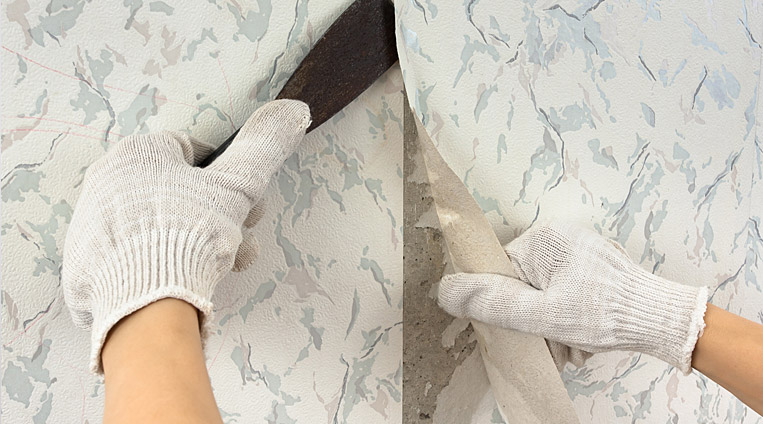
CAN I STRIP WALLPAPER MYSELF?
Quite possibly! Depending on the age of your walls and wallpaper, stripping wallpaper may not be the worst home improvement project you could undertake. But before you get started, you’ll need to determine what kind of wallpaper you have, and what’s underneath it.
You’ll also need to have patience, and be ready for a major mess. Stripping wallpaper takes a gentle touch, and is anything but tidy. It requires careful prep and a ton of clean up.
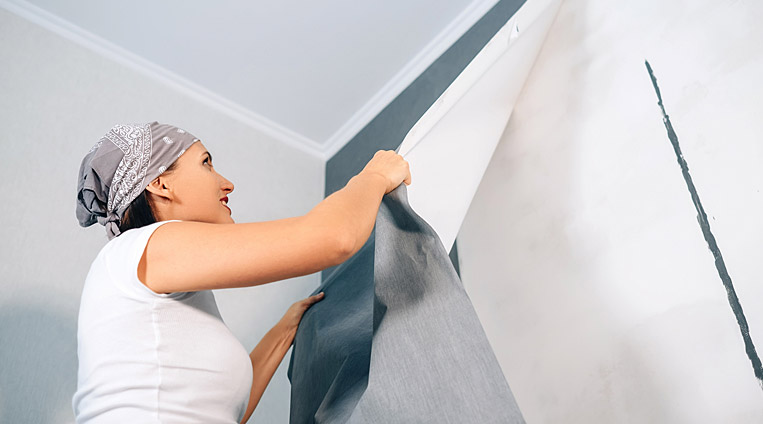
HOW DOES WALLPAPER REMOVAL WORK?
You start by assessing what you’re working with. If your house was built after 1950, there’s a good chance your walls are drywall; otherwise, they may be plaster. Drywall takes a slightly more delicate touch—it’s important to be careful to avoid dinging it as you’re scraping up paper.
For most wallpapers, you’ll use a stripping agent mixed with warm water to unstick the paper from the wall. Since you’ll be getting your walls wet, it’s important to carefully cover outlets with painters tape and protect baseboards and floors with towels and plastic.
You start by peeling off as much as you can by hand. Feel along the corners and seams of your wallpaper, and peel off as much as possible. Many wallpapers have a facing and a backing—the facing is probably the layer that you’re able to just peel off without a stripping agent.
Next, to get the backing off, you’ll score it—working in sections, use a scoring tool to scratch several slits into it, so your stripping solution can fully penetrate and soften the adhesive. Use a spray bottle or sponge to apply your stripping agent, and give it a few minutes to sink in—read the stripper’s instructions to know just how long to give it.
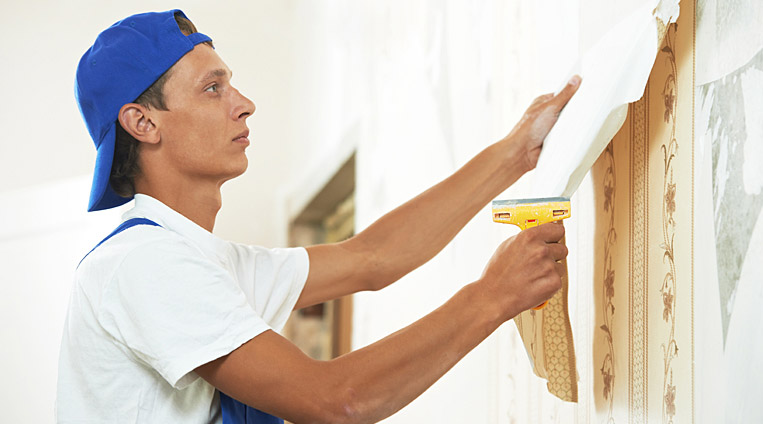
Once the adhesive has softened, start pulling off the backing. The trick is to go slow and steady, to remove the largest possible pieces at a time. For especially stubborn spots, use a little extra stripper and a scraper to carefully scrape up the adhesive. Be careful not to over-do the stripper—you don’t want to totally soak your walls!
If you start pulling off more than the paper, stop what you’re doing. It probably means that the wallpaper was glued down incorrectly, or applied to a poorly-prepped wall, and you’re damaging the wall as you remove it. Call out the pros ASAP to have them assess what’s going on and to figure out your options for moving forward.
Once you’ve finished stripping your wallpaper, give your walls a good wipe-down to remove any excess stripper that may be lingering. Before you paint or re-paper, make sure the walls get plenty of time to dry, and use a quality primer.
FINAL TAKEAWAY
When it comes to taking down wallpaper, just know you don’t have to do it on your own. Even if you might be up for a DIY project, it never hurts to ask the pros for a free consultation. Having a professional check out your space and give you an estimate may help you decide if it’s worth it for you to try and do on your own. You may be pleasantly surprised by the affordability of wallpaper removal, and you’ll definitely be pleased when you aren’t the one cleaning up the mess!
OUR FAVORITE PAINTED BRICK ACCENT WALL IDEAS:
When it comes to painting your brick wall, the goal is to harmonize that awesome brick texture with your home—not to try and hide it. Playing with unexpected cool tones will modernize and play up that brick texture in a way that looks finished, intentional, and totally pro.
Navy Blue—Painting your interior brick navy blue takes that brick out of predictability and into style. Navy blue is adaptable enough to be a neutral, working just fine with cool greys and whites or warm beiges and chocolate browns. But unlike other neutrals, it provides gorgeous depth, which will visually expand the room. Pro tip: go a little glossy to make that brick texture pop—try a satin or semi-gloss finish.
Light Grey—If you want bright and simple, but a bit less plain than white, try a light cool grey. The powder-blue tones will feel clean and modern, while the grey works as a cozying neutral.


